When choosing FRP Wall Panels For Cleanrooms, many facility owners focus on the panel surface but overlook the joints. Poorly sealed joints can collect dust, allow air leakage, absorb cleaning chemicals, and create a difficult-to-clean edge around every panel. This guide explains how to seal cleanroom panel joints correctly using suitable cleanroom joint sealant, proper panel gap preparation, and controlled silicone curing. The same method applies to pharmaceutical rooms, medical-device areas, food-processing spaces, laboratories, and other facilities that use Cleanroom Sandwich Panel systems.
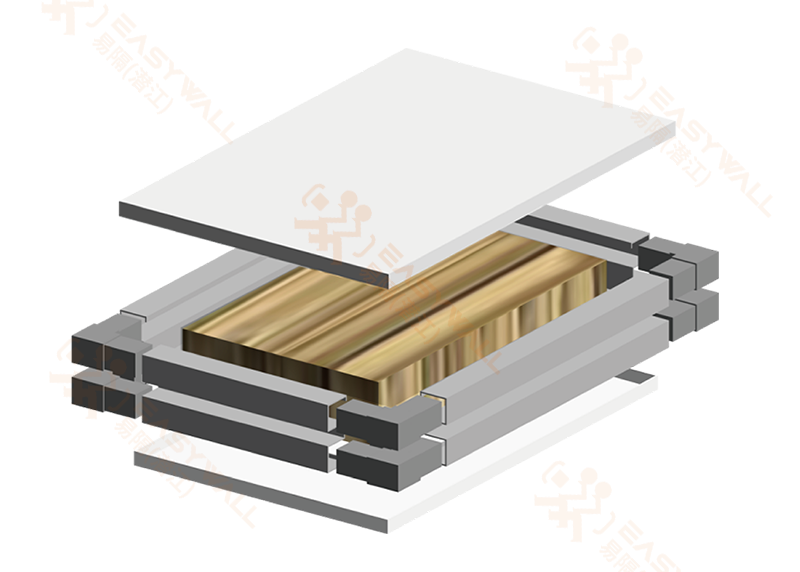
A cleanroom wall is only as hygienic as its weakest joint. Even when the panel skin is nonporous, an open or poorly tooled seam can become a reservoir for particles, microorganisms, and chemical residue.
Correct joint sealing helps control:
In practical terms, cleanroom joint sealing is not only a cosmetic task. It contributes to the integrity of the room envelope, cleanability, pressure stability, and long-term panel performance.
Before beginning, confirm the panel manufacturer’s installation instructions and the sealant technical data sheet. Easywall, for example, may provide joint dimensions and recommended sealant types for different panel facings, including FRP, painted steel, stainless steel, and coated aluminum.
Do not use dusty rags, abrasive wire brushes, steel scrapers, or powdered release agents near an operational cleanroom. These materials can introduce particles or scratch the panel coating.
Inspect the wall before opening the sealant cartridge. Panel faces should be aligned, firmly supported, and free from movement that could stretch the finished joint.
Measure the joint width at the top, middle, and bottom. A typical hygienic panel joint may be approximately 3–6 mm wide, but the correct dimension depends on the panel system, movement allowance, and sealant data sheet. Do not force a sealant into a joint that is too narrow for proper adhesion or too deep for controlled curing.
Check for:
Most sealants perform best when the substrate and ambient temperature remain within the range stated on the technical data sheet, often approximately 5–40°C. Relative humidity requirements differ by chemistry. Some moisture-curing sealants require atmospheric moisture, while two-component products do not depend on humidity in the same way.
Record the temperature and relative humidity before application. Do not seal wet, frozen, dusty, or visibly condensating surfaces. If the room is under construction, isolate the work zone from sanding, drilling, insulation cutting, and other particle-generating activities.
Remove loose particles with a suitable vacuum. Wipe the bonding faces with a clean, non-shedding wipe and the approved solvent. Allow the surface to dry completely.
Do not flood the joint with solvent. Excess liquid can migrate into an exposed panel core or remain trapped behind the sealant. If the facing is FRP, painted steel, or a special antimicrobial coating, verify solvent compatibility on an offcut or hidden area first.
For repair work, cut away the old sealant on both sides of the joint. Remove all loose, chalked, oily, or partially cured material. A new bead applied over failed sealant may look acceptable initially but can inherit the old material’s poor adhesion.
Use a sharp blade at a controlled angle to avoid cutting the panel facing. If the old sealant has bonded strongly, remove it in small sections rather than pulling aggressively. Vacuum the joint after scraping and inspect it under a bright light.
Do not seal over crushed edges, open insulation, delaminated FRP, or exposed metal corrosion. Repair the edge according to the panel manufacturer’s instructions first.
Minor chips may be repaired with a compatible hygienic repair compound. Larger damage may require a replacement panel section. The joint must have a stable, clean, and sufficiently wide bonding surface on both sides.
Install a closed-cell backer rod when the joint is deep, when the gap opens into a cavity, or when the sealant manufacturer specifies it. The backer rod controls sealant depth and prevents three-sided adhesion.
Push the backer rod into position with a blunt plastic tool. Do not puncture it or compress it unevenly. The backer rod should sit continuously along the joint without visible gaps or bulges.
As a general principle, an elastomeric sealant bead is often designed with a depth close to half its width, subject to the product data sheet. For example, a 6 mm joint may require a controlled sealant depth of approximately 3–6 mm depending on the specified product. The manufacturer’s joint-design table takes priority over generic rules.
Apply masking tape in straight lines on both sides of the joint. Leave only the specified joint width exposed. Press the tape edges firmly so sealant cannot creep underneath.
Do not use tape that leaves adhesive residue on the panel. Remove the tape while the sealant is still workable, not after the bead has fully skinned.
Check the product name, batch number, expiration date, color, cure mechanism, and storage condition. For two-component sealants, confirm the mixing nozzle and ratio. Discard the first portion of mixed material until the color and consistency are uniform.
Apply a small test bead to a panel offcut or concealed area. Check wetting, flow, adhesion, and color. This simple test can identify incompatibility before several hundred meters of joint are sealed.
Hold the nozzle at approximately 45 degrees and move at a steady speed. Keep the nozzle tip in contact with the joint when possible. Apply enough material to fill the joint completely without creating voids.
Work in manageable sections, commonly 1–2 meters at a time. The correct section length depends on the sealant’s open time, room temperature, and installer speed. The bead should remain wet enough to tool before it begins forming a skin.
Do not stretch the sealant by moving too quickly. A stretched bead may have a narrow center, trapped air, or weak adhesion at the joint bottom.
Tool the sealant with a clean, rounded plastic tool. Use one continuous movement where possible, applying light and even pressure. The finished profile should be smooth, continuous, and slightly concave or flush according to the project specification.
Tooling removes air pockets and forces the sealant into contact with both panel faces. Do not use excessive soapy water or unapproved tooling liquid because residues can interfere with curing and may leave a film that attracts particles.
Inspect the bead immediately for:
Pull the tape back over itself at a low angle while the sealant is still wet or partially workable. Remove the tape slowly so it does not lift the bead edge.
Do not touch the finished joint with bare gloves, paper towels, or contaminated tools. If a small correction is required, add compatible sealant only while the original bead is within its rework window. Once cured, the surface normally needs mechanical preparation before a new layer can bond.
Protect the joint from water, cleaning chemicals, vibration, dust, and physical contact during curing. Cure time depends on chemistry, bead size, temperature, humidity, and ventilation.
A moisture-curing silicone may skin within minutes but require several days to cure through a deep bead. A two-component epoxy or polyurethane may reach handling strength faster but still require the specified full-cure period. Never approve a cleanroom for wet cleaning merely because the surface feels dry.
Record the sealant batch, application date, room conditions, installer, and cure-release time. This information is useful if a joint later develops discoloration, cracking, or adhesion loss.
After the required cure period, inspect the complete joint under direct light. Look for gaps at intersections, corners, penetrations, floor junctions, and ceiling junctions.
Depending on the facility specification, verification may include:
Pressure testing does not replace visual inspection, and a clean particle-count result does not prove that every wall joint is correctly bonded. Use the complete quality-control plan.
In one documented pharmaceutical facility handover review, the installation team had sealed approximately 180 meters of insulated cleanroom panel joints. The first inspection found recurring pinholes at vertical joints and small openings where wall panels met door frames. The team had applied sealant directly into deep gaps without backer rod, and the nozzle speed varied between installers.
The corrective process included removing the affected sections, vacuuming the joints, installing continuous backer rod, standardizing the exposed joint width with masking tape, and assigning one trained installer to tool each room. The team then performed a visual inspection under high-intensity lighting and recorded the sealant batch and curing time.
During the follow-up inspection, no visible pinholes were found in the repaired sections, and the room maintained the specified pressure differential during the facility’s acceptance test. The important lesson was not simply “use more sealant.” The measurable improvement came from controlled joint depth, consistent application speed, and inspection at intersections—three details that are frequently missed in Cleanroom Sandwich Panel installation.
Problem: The bead appears smooth but later peels from the panel surface.
Solution: Remove loose particles by vacuuming, wipe with an approved solvent, allow full evaporation, and conduct an adhesion test. Do not assume that a visually clean panel is chemically clean.
Problem: The sealant becomes soft, yellow, brittle, or cracked after exposure to disinfectants.
Solution: Compare the cleaning-agent safety data sheets with the sealant resistance data. Confirm compatibility with FRP resin, gel coat, paint, stainless steel, and aluminum. If the facility uses vaporized hydrogen peroxide, verify resistance with the sealant manufacturer rather than relying on a generic “chemical resistant” label.
Problem: The joint contains excessive sealant depth, cures slowly, or develops internal shrinkage.
Solution: Use a correctly sized backer rod where specified. It should control depth and prevent bonding to the joint bottom, allowing the sealant to accommodate movement more effectively.
Problem: The sealant tears internally when the panels move.
Solution: Prevent adhesion to the back of the joint with backer rod or approved bond-breaker tape. The sealant should normally adhere to the two panel faces, not to three joint surfaces.
Problem: The installer creates drag marks, voids, or torn edges during finishing.
Solution: Reduce the working section length and tool within the product’s stated tooling time. In warm or dry conditions, the workable period may be shorter than expected.
Problem: Tape pulls away the bead edge or leaves a ragged transition.
Solution: Remove the tape while the sealant is still workable. Pull the tape back over itself rather than lifting it vertically.
Problem: Wet wiping causes smearing, whitening, or loss of surface integrity.
Solution: Follow the full cure schedule, not only the skin-time value. For deep beads or low-temperature conditions, extend the waiting period and obtain written approval before using aggressive cleaning chemicals.
Problem: The vertical seams look acceptable, but dust and moisture enter at perimeter transitions.
Solution: Treat floor, ceiling, wall, corner, door-frame, service-penetration, and equipment-interface joints as part of the same cleanroom envelope. These transitions often require additional backing, coving, or a different sealant detail.
| Inspection item | Acceptance consideration |
|---|---|
| Panel alignment | Panels are stable, flush, and properly supported without visible movement. |
| Joint width | Consistent and within the panel-system and sealant manufacturer’s specification. |
| Surface condition | Dry, clean, dust-free, and free of release agents or oil. |
| Backer rod | Continuous, undamaged, and positioned at the designed depth where required. |
| Sealant profile | Continuous, smooth, fully bonded, and free from pinholes or visible voids. |
| Corners and intersections | No open gaps where vertical, horizontal, and perimeter joints meet. |
| Cure status | Full cure achieved according to the product data sheet and site conditions. |
| Cleaning compatibility | Sealant has documented resistance to the facility’s actual disinfectants. |
| Documentation | Batch, date, installer, environmental conditions, repairs, and test results recorded. |
Include panel joints in the routine cleaning and preventive-maintenance program. Use the approved concentration of disinfectant and avoid sharp tools that can cut the sealant. Do not scrape a joint with a metal blade during ordinary cleaning.
Inspect high-risk locations more frequently, including:
Repair early signs of failure, such as edge lifting, discoloration, tackiness, cracking, or a visible separation line. A small localized repair is generally less disruptive than removing a long contaminated bead after moisture has entered the panel joint.
There is no universal product for every panel. A neutral-cure silicone is frequently selected for flexible, chemically exposed joints, while polyurethane, MS polymer, or epoxy products may be appropriate for specific substrates and performance requirements. Select the product based on adhesion, movement capability, chemical resistance, cleanability, cure conditions, and the panel manufacturer’s approval.
It should not be selected solely because it is labeled “mildew resistant.” Bathroom silicone may contain additives, have unsuitable extractables, or lack documented resistance to the facility’s disinfectants. Use a product with technical documentation for the intended hygienic or cleanroom application.
The required profile depends on the panel system and cleaning method. A smooth flush or slightly concave profile is commonly easier to wipe than a protruding bead. The finished joint must remain fully bonded and must not create a sharp ledge where residue can accumulate.
Follow the panel-system drawings and sealant manufacturer’s joint-design guidance. A 3–6 mm joint is common in some panel systems, but movement, temperature variation, installation tolerance, and substrate condition may require another dimension.
Usually, no. New material may not bond reliably to cured, contaminated, or chemically degraded sealant. Remove the failed material, clean the bonding faces, and follow the new sealant manufacturer’s preparation procedure.
Use the full-cure time stated in the product data sheet and adjust for bead depth, temperature, humidity, and ventilation. Surface skin time is not the same as through-cure time. Obtain project approval before wet cleaning or applying disinfectants.
Visual inspection identifies obvious defects, but airtightness requires a project-specified test. Depending on the room design, this may include pressure-differential measurement, smoke visualization, or other envelope and HVAC verification procedures. Test results should be interpreted together with panel-joint inspection records.
Easywall or another qualified panel supplier should provide the relevant installation drawings, approved sealant list, substrate-preparation requirements, and joint dimensions for the selected panel system. Request confirmation before substituting a sealant or changing the specified joint detail.
Proper sealing of Cleanroom Sandwich Panel joints follows a controlled sequence: inspect the panel alignment, remove contamination, repair damaged edges, install backer rod where required, apply compatible sealant, tool the bead before skin formation, remove masking tape at the correct time, allow full curing, and document the inspection.
The most important practical rule is to design the joint rather than simply fill the gap. Correct joint width, controlled sealant depth, two-sided adhesion, chemical compatibility, and complete inspection at corners and penetrations determine whether the finished cleanroom wall remains cleanable and airtight. Using the panel supplier’s specifications—such as those available for Easywall systems—reduces rework and supports reliable long-term performance. These practices combine cleanroom joint sealant selection, panel gap preparation, and silicone curing control into one repeatable cleanroom panel maintenance process.
最新ニュース
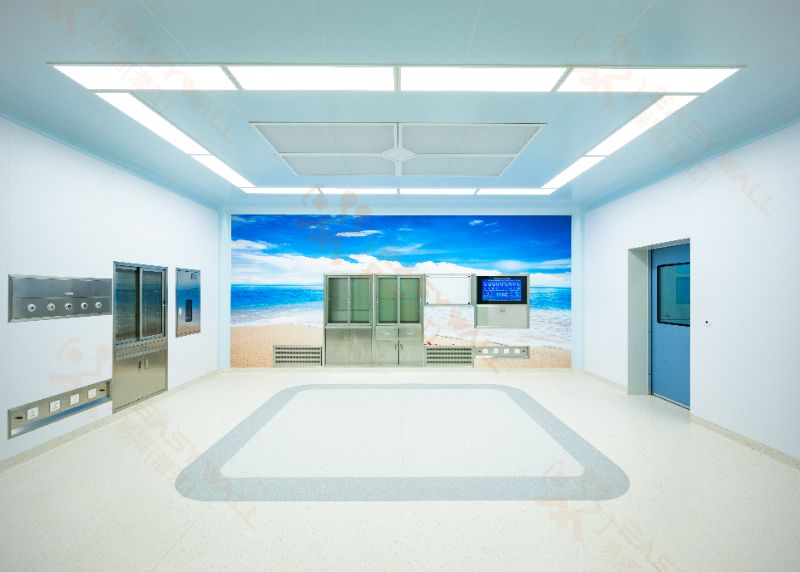
How to Choose the Right Cleanroom Panel Core Material?
 Sep. 29, 2026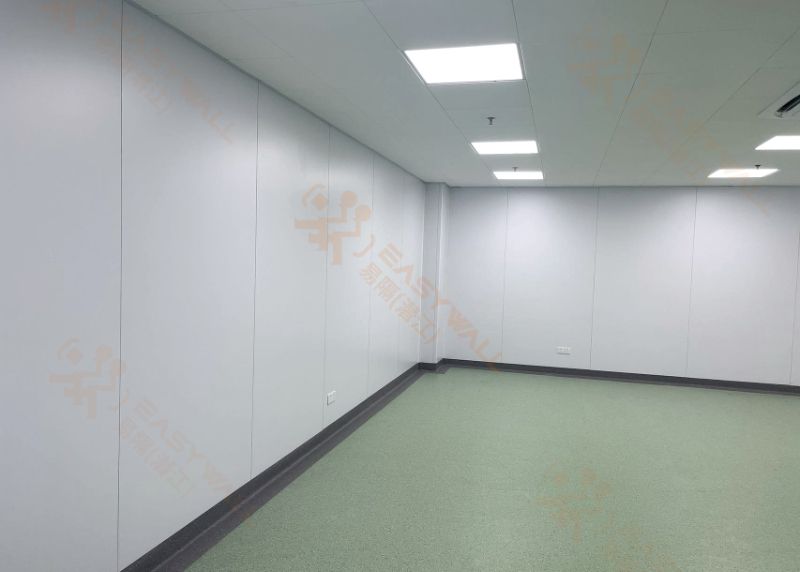
PCGI vs. Stainless Steel vs. HPL Cleanroom Panel Surface Coatings
Sep. 28, 2026 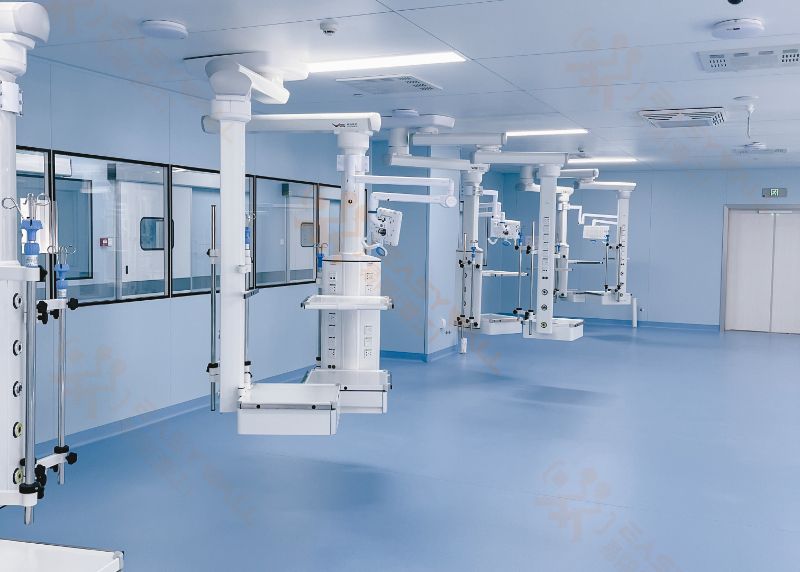
How cleanroom Panel Thickness Affects Cleanroom Performance?
Sep. 25, 2026 
How Cleanroom Panels Support Contamination Control?
Sep. 23, 2026 
VHP Sterilization: Panel Coating Resistance
Sep. 21, 2026 24 時間以内にご連絡いたします。または、毎日午前 9 時から午後 12 時までお電話ください。
+86 139 6255 5162
見積もりを依頼する
技術革新、製品の品質は企業の魂、市場の需要顧客満足度は企業の命
 English
  Chinese (Simplified)
  French
  Russian
  Portuguese