A Cleanroom Door Window System must do more than fill an opening in a wall. It must integrate with cleanroom panels to maintain airtightness, support cleanability, protect pressure differentials, and meet the operational needs of pharmaceutical, medical, electronics, food, and laboratory facilities. This guide explains how doors and windows connect to cleanroom wall systems, how to specify the right products, how to install them step by step, and which purchasing mistakes to avoid.
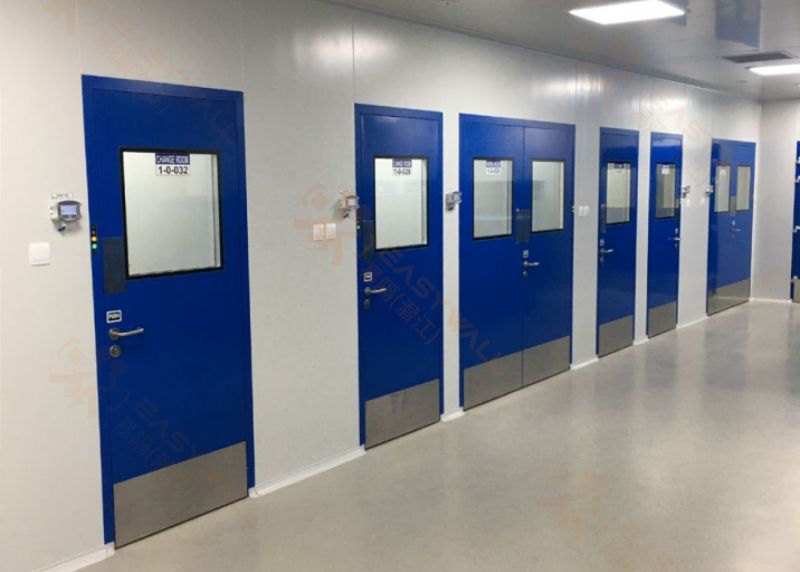
Purchasing teams usually search for cleanroom doors and windows because they need a complete wall system rather than isolated products. The most useful information answers practical questions about compatibility, installation, performance, maintenance, and total cost.
Searchers typically want an article that compares door and window configurations, explains how openings are prepared in panels, provides a complete installation sequence, identifies required tools, lists technical data to request, and describes common errors. They also want clear guidance on whether the system can be supplied as a coordinated package.
The first design decision is to coordinate the panel construction with the door and window opening. A cleanroom door or window should be treated as part of the wall assembly, not as an independent item installed after the panels are complete.
Collect the following information before selecting door and window frames:
Do not use only the nominal door or window size. Establish the complete opening schedule with finished dimensions, structural dimensions, and installation tolerances.
Whenever possible, position the door and window openings at panel joints or within a planned panel module. This reduces cutting, improves alignment, and simplifies replacement. If an opening must be cut through the center of a panel, the panel manufacturer should provide a reinforcement and edge-finishing detail before fabrication.
The frame is the main connection between the door leaf, the wall panel, and the floor. A properly integrated frame transfers operating loads, protects the panel edge, and creates a continuous surface for gaskets and sealants.
Choose the door type according to traffic, pressure control, room function, and available space.
The frame profile should match the panel thickness and the required wall finish. Common cleanroom frame features include:
Door operation creates repeated loads. The opening therefore needs reinforcement that is suitable for the panel construction.
Cleanroom windows should provide visibility without creating contamination traps or weakening the wall. The frame, glazing, gasket, and panel opening must be designed as one assembly.
Condensation can obscure the view and introduce moisture at the panel interface. Check the temperature and humidity on both sides of the window, especially when one room is colder, cleaner, or under different HVAC conditions.
Specify the following when necessary:
The window should finish flush with the panel surface or use a carefully designed stepped detail. Avoid deep reveals, exposed screws, open frame channels, and horizontal ledges. Any remaining joint should be continuous, smooth, compatible with the cleaning chemicals, and easy to inspect.
A controlled installation sequence prevents the most common problems: wrong opening sizes, damaged panel facings, leaking joints, and doors that fail to align with the finished floor.
Verify the door schedule, window schedule, panel thickness, opening dimensions, swing direction, hardware, sill height, threshold, interlock controls, and sealant specification. Do not begin cutting panels until the opening schedule is approved.
Set out each opening from fixed building reference lines rather than from an adjacent panel that may not be correctly positioned. Mark the finished opening, rough opening, frame fixing zones, and required reinforcement. Check the mark-out twice before cutting.
Install the specified jamb, head, and sill reinforcement. Ensure that the reinforcement is straight, securely fixed, and aligned with the finished wall plane. Protect the panel core from moisture and seal any exposed edges according to the panel manufacturer's instructions.
Position the wall panels around the opening while maintaining the planned joint arrangement. Check that panel faces remain flush and that the opening does not narrow as adjacent panels are tightened or fixed.
Place the door or window frame into the opening without applying final sealant. Confirm the frame width, height, squareness, level, plumb, and relationship to the cleanroom side of the wall. Use temporary shims and braces to hold the frame in position.
Install fasteners at the approved spacing. Tighten them progressively from the center toward the corners to prevent distortion. Use the specified torque and avoid over-tightening, which can deform thin frame profiles or crush the panel facing.
Clean and dry the joint before applying sealant. Install backer material if required, then apply a continuous bead without gaps. Tool the sealant to create a smooth, concave or flush finish that does not trap dust. Remove excess material before it cures.
Hang the door leaf or install the glazing according to the approved manufacturer's instructions. Check that glazing blocks, gaskets, beads, hinges, handles, closers, and locks are correctly positioned. Do not force glass into a frame that is out of square.
Adjust the hinges, closer, lock, strike, sliding rollers, guides, and gaskets. The door should move without binding and should close fully from the required opening position. A gasket should compress evenly without being cut, folded, or forced outside the frame.
Remove protective films, temporary braces, labels, and construction debris. Clean the frame, panel, glazing, and sealant using approved materials. Do not use abrasive pads or solvents that can damage coatings, gaskets, or glazing seals.
Record the final dimensions, frame alignment, sealant batch, hardware settings, glazing type, and inspection results. Photograph concealed reinforcement and completed joints before the area is closed or handed over.
Visual inspection alone is not enough. The completed Cleanroom Door Window System should be checked against the project specification and the room qualification plan.
Inspect all panel-to-frame joints, frame corners, glazing beads, thresholds, and fastener penetrations. A smoke pencil can help identify obvious air movement during preliminary checks, but formal leakage and room pressure tests should follow the project's approved qualification method.
Door and window performance affects room pressure, airflow balance, recovery time, particle control, and cleaning procedures. Coordinate final testing with the HVAC and validation teams. Depending on the project, the handover package may include:
The lowest initial price is not always the lowest project cost. A door or window that is difficult to install, difficult to clean, or frequently misaligned can increase maintenance costs and delay qualification.
Ask the supplier to provide one coordinated submittal showing the panel, door, window, opening, frame, reinforcement, sealant, and hardware interfaces. A coordinated package reduces the risk of receiving products that meet their individual specifications but do not fit together on site.
A nominal door size does not define the finished opening, frame dimensions, or required reinforcement. Always approve a dimensioned opening schedule before fabrication.
Small differences between architectural drawings and manufacturer drawings can create large site problems. Use the approved frame drawing and verify the actual delivered frame before making irreversible cuts.
General-purpose sealants may shrink, crack, release contaminants, or react with cleaning chemicals. Use a sealant approved for the cleanroom environment and apply it according to the manufacturer's preparation and curing requirements.
Panel facings are not always designed to carry repeated door loads. Without reinforcement, the frame can loosen, the panel can deform, and the seal can fail.
Installing a frame before the final floor height is known can cause excessive undercuts, binding doors, or an incorrect threshold. Coordinate floor coatings, coving, drains, and thresholds before final fixing.
Deep reveals, open channels, exposed screw heads, and uneven sealant collect dust and complicate cleaning. Specify flush, sealed, and accessible details.
Single glazing may become unsuitable when there is a major temperature or humidity difference between rooms. Review the environmental conditions before selecting the glass and frame.
The performance of the complete assembly depends on the panel, reinforcement, frame, gasket, sealant, threshold, and surrounding room. Test the installed interface rather than relying only on individual product certificates.
Routine maintenance preserves airtightness and reduces unplanned downtime. The maintenance schedule should match traffic levels, cleaning frequency, and the room's contamination control requirements.
Use the approved cleaning agent, dilution, contact time, and wipe method. Avoid sharp tools, excessive scrubbing, and unapproved solvents. Clean the frame corners, thresholds, gaskets, and window edges carefully because these areas often retain residue.
Replace damaged gaskets, loose hardware, failed sealant, and cracked glazing before they affect room pressure or contamination control. Keep a record of part numbers and adjustment settings so maintenance work can be completed without redesigning the opening.
Easywall can help project teams coordinate cleanroom panels, door frames, windows, reinforcement, sealing details, and installation requirements as one system. The most efficient approach is to provide the room layout, panel specification, opening schedule, environmental conditions, and performance requirements at the beginning of the design process.
Confirm the design, opening dimensions, reinforcement, frame profiles, sealant, hardware, delivery sequence, and inspection requirements before production. This process gives the purchasing group a clearer scope, reduces site changes, and improves the probability of passing cleanroom qualification without rework.
A well-designed Cleanroom Door Window System forms a continuous, cleanable, and maintainable connection between doors, windows, and panels. By defining the openings early, selecting compatible components, following a controlled installation sequence, and checking the complete assembly, project teams can achieve reliable performance with support from Easywall.
最新ニュース
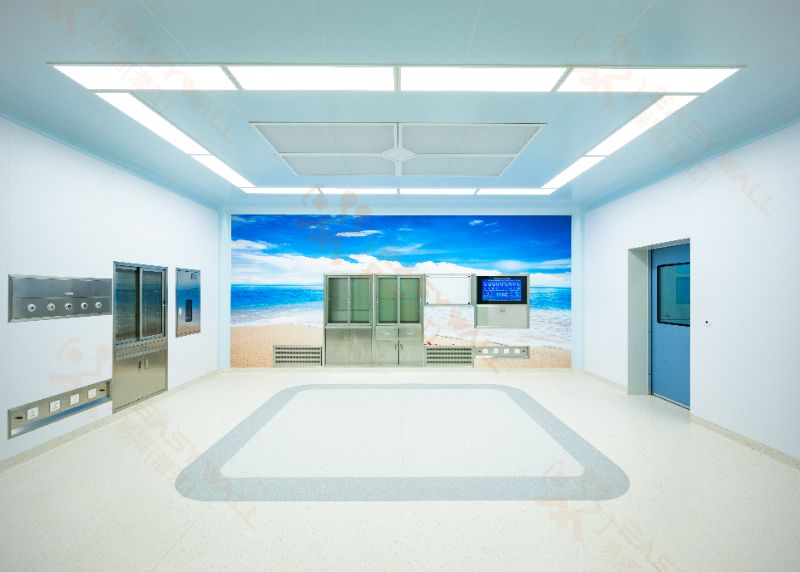
How to Choose the Right Cleanroom Panel Core Material?
 Sep. 29, 2026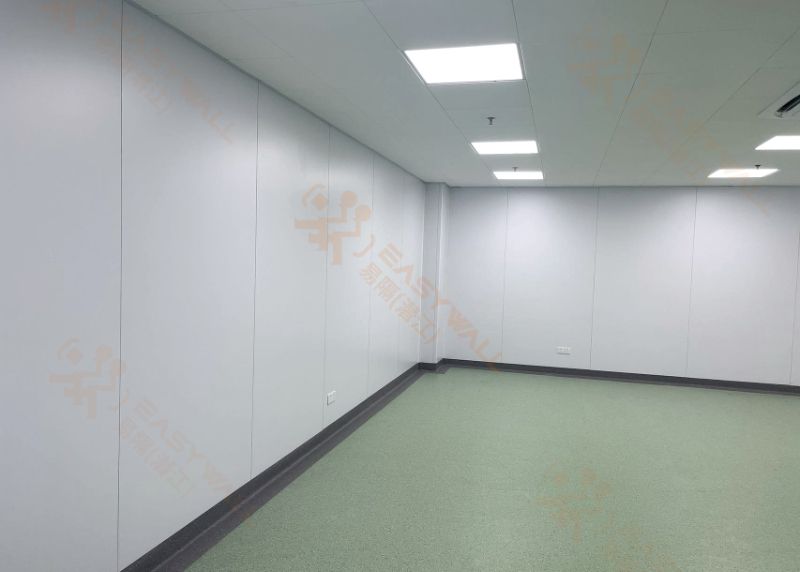
PCGI vs. Stainless Steel vs. HPL Cleanroom Panel Surface Coatings
Sep. 28, 2026 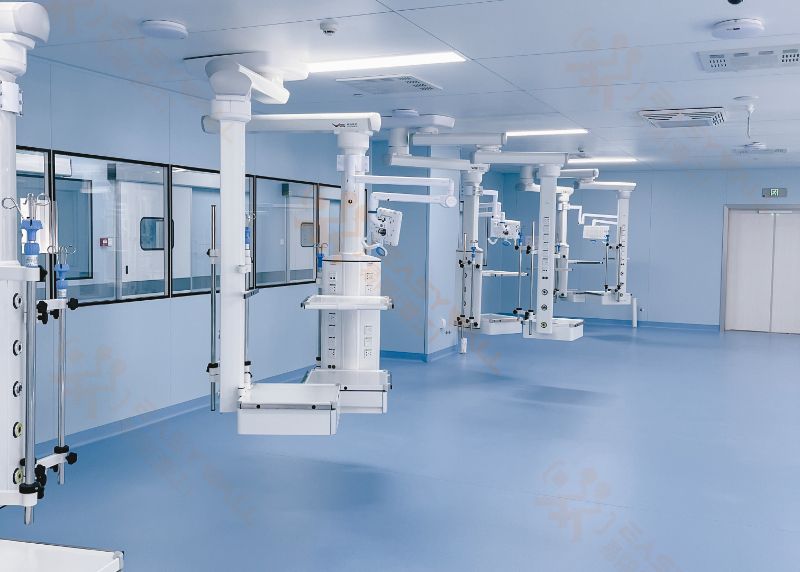
How cleanroom Panel Thickness Affects Cleanroom Performance?
Sep. 25, 2026 
How Cleanroom Panels Support Contamination Control?
Sep. 23, 2026 
VHP Sterilization: Panel Coating Resistance
Sep. 21, 2026 24 時間以内にご連絡いたします。または、毎日午前 9 時から午後 12 時までお電話ください。
+86 139 6255 5162
見積もりを依頼する
技術革新、製品の品質は企業の魂、市場の需要顧客満足度は企業の命
 English
  Chinese (Simplified)
  French
  Russian
  Portuguese